Geometric dimension and tolerance or GD&T use a set of gd&t symbols form, orientation, location, and runout in a feature of a part or assembly. GD&T tolerances with linear tolerance can define allowable variations in a part or assembly geometry. ASME Y14.5-2009 standard has defined Geometric Dimension and Tolerance symbols in detail.
This article covers various GD&T symbols to define part design intent accurately. Each GD&T Symbol has its significance, and engineers define them according to design requirements. Click this link for the basics of geometric dimension and tolerance.
Feature Control Frame
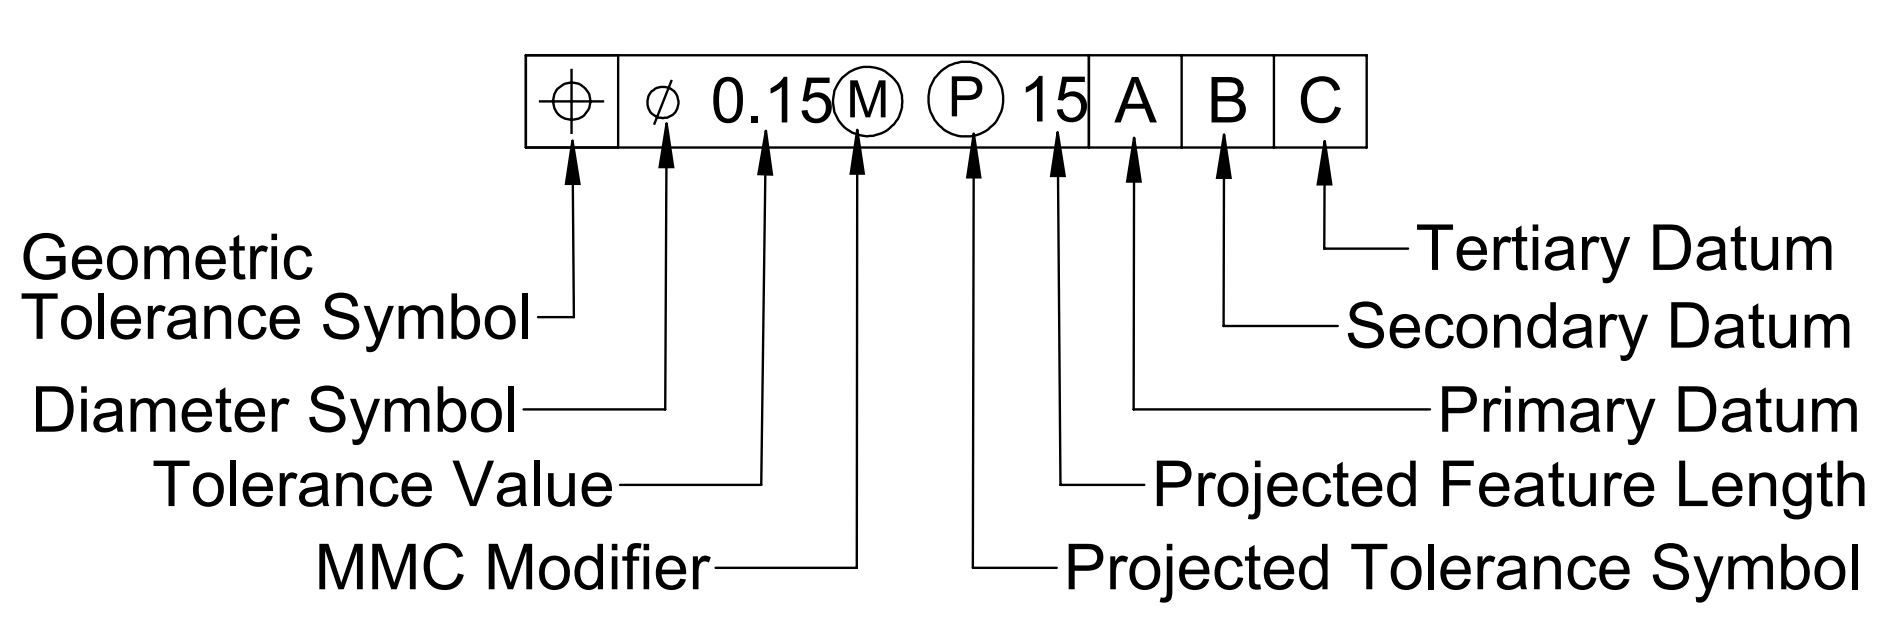
Feature Control Frame in GD&T is used to describe the tolerance on a part feature. It consists of the following information:
- GD&T Tolerance Type and Its Value.
- Datum Plane.
- Tolerance Zone Type.
- Tolerance Zone Modifiers: Projected Plane, MMC, LMC.
GD&T Symbols
| Control Type | Description | Datum | Tolerance Zone | MMC LMC or RFS |
|---|---|---|---|---|
Form Control |
 Straightness
 | NA | Parallel Lines Plane or Cylindrical face | Feature of Size |
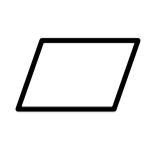 Flatness
 | Parallel Plane | NA | ||
 Circularity
 | Parallel Lines | |||
 Cylindricity
 | Parallel Cylinders | |||
Profile Control |
 Profile of a Surface
 | Not Mandatory | Parallel Surfaces | |
 Profile of a Line
 | Parallel Lines | |||
Orientation Control |
 Perpendicularity
 | Required | Parallel Lines Plane or Cylindrical Zone | Feature of size |
 Angularity
 | Parallel Lines Plane or Cylindrical Zone | |||
 Parallelism
 | Parallel Lines Plane or Cylindrical Zone | |||
Location Control |
 Position
 | Parallel Plane or Cylindrical Zone | ||
 Concentricity control tolerance symbol
 | Cylindrical Zone | RFS Required | ||
 Symmetry
 | Parallel Plane | |||
Runout |
 Circular Runout
 | Parallel Lines | ||
 Total Runout
 | Parallel Cylinders |
GD&T Modifier Symbols
| Symbol | Description |
|---|---|

Datum Plane | Datum in GD&T is theoretical exact plane, axis or point from where GD&T tolerances are referenced to. |

Datum Target | Datum target is a point, Line or and area that is used to define the datum. |
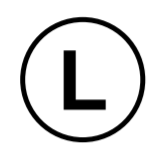
Least Material Condition | "L" Symbol in GD&T is a feature of size symbol. It describes a dimensional or size condition where the least amount of material exists within given dimensional tolerance. |
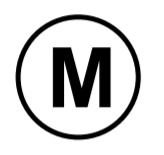 Maximum Material Condition | "M" Symbol in GD&T is a feature of size symbol. It describes a dimensional or size condition where the maximum amount of material exists within given dimensional tolerance. |
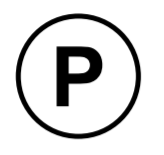 Projected Tolerance Zone | Projected tolerance zone is applied to a protuded feature. When indicated in drawing, it shows the zone where given GD&T tolerance is applicable. |
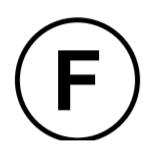 Free State | Free State condition is used for non rigid parts such as rubber or foam parts. This symbol in GD&T indicates no force except gravitational pull should be applied in this region during measurements. |
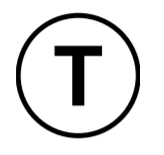 Tanget Plate | This symbol in GD&T indicates only the Tanget Plate of the of the controlled surface should be within this tolerance limits. |
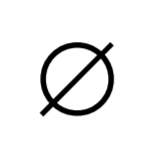
Diameter | When defined in feature control frame diameter symbol in GD&T indicates that the defined tolerance is diametrical. |
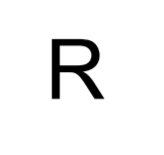
Radius | When defined in feature control frame radius symbol in GD&T indicates that the defined tolerance is radial. |
 Controlled Radius | Controlled radius symbol creates a tolerance zone defined by two arcs tangent to the adjacent surfaces. |
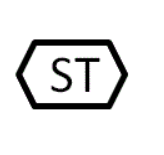 Statistically Controlled | It indicates the given dimension is statistically controlled. |
We will keep adding more information on gd&t symbols and their applications. Add your suggestions, comments, or questions on GD&T symbols in the comment box.

Add a Comment