The least count of an instrument has a direct relationship with the measuring instrument accuracy and precision. For example, to measure 6.2 ± 0.25 mm dimension, a ruler is not the right measurement tool. Because the minimum dimension a ruler can measure accurately is 1 mm. In this article, we will discuss what is lease count? and how to calculate the least count of a measuring instrument.
We suggest you also read this article on the Mechanical Advantage of a Machine.
What is Least Count ?
Least Count of an instrument is the smallest change or value of a physical parameter an instrument can measure or detect. For example, the ruler shown below can not measure a dimension more than 1 mm in length. Therefore ruler L.C. is 1 mm.

What is the difference between Least Count and Precision ?
Least Count is inversely proportional to the precision of measurement equipment. The smaller the minimum value an instrument can measure, the lower will be the L.C., and the higher will be the precision.

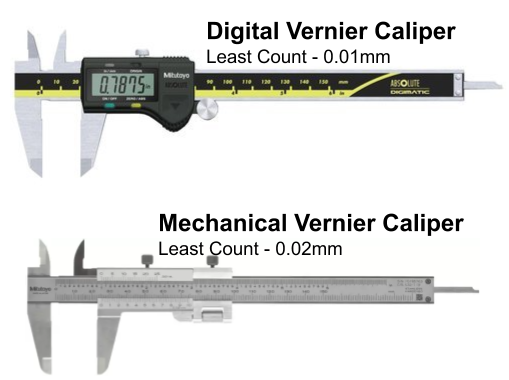
To understand this let’s consider an example of digital and mechanical Vernier Calipers. Since Digital Vernier L.C. (0.01 mm) is smaller than mechanical Vernier L.C. (0.02 mm).
Mechanical vernier will measure a 5±0.21 mm dimension as 5±0.20 or 5±0.22 mm. Whereas digital vernier will measure it 5±0.21. Therefore Digital Vernier is more precise compared to mechanical vernier because it has a smaller Least-Count.
What is the difference between L.C. and Accuracy ?
Least Count of an instrument is the smallest value instrument can measure. Whereas the accuracy of an instrument is how close a measured value is to the actual value. Similar to precision, accuracy is also inversely proportional to the L.C. Accuracy of an instrument is always less than its L.C. because it can not measure better than the minimum value it can measure.
How to Calculate Least Count ?
Mathematically a measurement instrument Least Count is calculated by dividing main scale reading by the total number of divisions on the main scale. And if the instrument also has a Secondary scale. Then instrument LC is the ratio of main scale L.C. and number of divisions on the secondary scale.

For example, the measurement scale’s least count is 1 mm. It is calculated by dividing the main scale reading (1 cm) by the number of divisions of the main scale (10).
Least Count Calculator
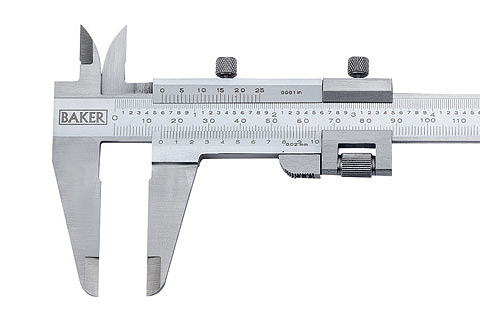
Mechanical Vernier Caliper Least Count Calculations
Least Count of Mechanical Vernier Caliper is 0.02 mm. Because it can measure a minimum 0.02 mm dimension.
Here is the calculation of Mechanical vernier caliper least count:
Mechanical vernier caliper Main Scale Reading = 1 cm
Number of Divisions in main Scale = 10
Main Scale L.C. = 1 / 10 = 0.1 cm
Number of Divisions in vernier secondary Scale = 50
Vernier Scale L.C. = 0.1 / 50 = 0.002 cm
= 0.1 / 50 = 0.02 mm
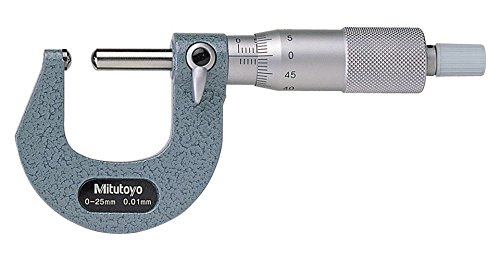
How to calculate Least Count of Micrometer ?
Least Count of micrometer is 0.01 mm. Because it can measure a minimum 0.01 mm dimension.
Micrometer main scale reading = 5 mm
Number of Divisions in main Scale = 10
Main Scale L.C. = 5 / 10 = 0.5 mm
Number of Divisions in secondary Scale = 50
Total Least Count of Micrometer = 0.5 / 50 = 0.01 mm
Commonly Asked Questions
No, For a measurement instrument, accuracy and precision are always less than its L.C.
L.C. indicates the smallest value an instrument can measure. Therefore using L.C. we can select the best equipment for your application.
To sum up, the L.C. of an instrument is the minimum value that we can measure with an instrument. It helps in the selection of the right instrument for your measurement.
Got Questions? We will be happy to help.
If you think we missed Something? You can add it to this article by sending a message in the comment box. We will do our best to add it in this post. We suggest you also read this article on Go No-Go Gauges.


Add a Comment